


Replacing Starlink's Router with Mikrotik
A practical guide to connecting Starlink directly to Mikrotik in an off-grid setting


Picture this: a tiny house nestled in the woods, powered by solar panels, a battery and a petrol generator, with its own well and sewage systems. This is my off-grid paradise that I've been building over the last few years. While being off-grid meant independence from traditional utilities, staying connected to the digital world remained crucial.
Initially, I relied on LTE connectivity through a Mikrotik LHG LTE18, which provided modest speeds of around 30 Mbps download and 10 Mbps upload. Recently, I decided to give Starlink a try - and boy, did it deliver - with speeds reaching up to 400 Mbps download and 30 Mbps upload!
However, there was a catch. In an off-grid setup, every watt counts. With a robust network setup already in place - a Mikrotik RB5009UPr+S+IN router and a Unifi U6 Pro Access Point - the additional Starlink Gen 3 router seemed redundant. This got me thinking: could I streamline my setup by connecting the Starlink dish directly to my Mikrotik router?
This is the story of how I did exactly that, and what I learned along the way.
Powering the Dish: A PoE Adventure
The Starlink Standard Kit I received came with a few essential components:
Starlink Dish (v4)
Router (Gen 3)
Power Supply
Cable for dish-to-router connection
My plan was to eliminate both the router and its power supply by connecting the dish directly to my Mikrotik RB5009UPr+S+IN. The challenge here was that the bundled router doesn't just provide internet access and WiFi - it also powers the dish. So the question became: how to power the dish without the Starlink router?
While my RB5009UPr+S+IN does have PoE ports, they weren't going to cut it - the Starlink v4 dish requires a 56V PoE and up to 150W. That's a bit beyond what my router can provide. Fortunately, there's a solution to this power puzzle.
Having considered Starlink for a while, I had already purchased an EP-SK0013 PoE injector. I actually bought it as a set with an EP-SK0029 adapter, though the adapter turned out to be unnecessary for the newest dish version which uses a standard RJ45 cable.

The PoE injector connects to 48V DC and powers the cable going to Starlink - perfect for my setup. Since my off-grid system uses a Pylontech US5000 48V battery with a cable already running through a bus to my Mikrotik router, I simply split this cable to power the injector. From there, it was straightforward: I connected a data cable from the injector to my router and ran the PoE-injected cable directly to the Starlink dish.
The moment I heard Starlink's mechanical whirring, I knew we had power - time to move on to the networking configuration.
Configuring Mikrotik: The Direct Connection
Surprisingly, there's not much configuration required. The Starlink dish provides IPv4 (and IPv6, but we'll save that for another discussion) addressing via DHCP, so all I needed to do on the Mikrotik side was configure a DHCP Client on the interface where I plugged the data cable from the PoE injector. Assuming you're using ether1, it's as simple as:
/ip dhcp-client add interface=ether1 disabled=noThat's essentially it! The interface should receive an IP address from Starlink, and since the DHCP client adds the default route by default, the routing table will be updated automatically. At this point, my Mikrotik could access the Internet via Starlink.
Since Starlink uses NAT (CGNAT specifically), my clients connected to Mikrotik weren't able to access the Internet just yet. This required configuring masquerading. I already had this set up for my LTE connection, so I simply needed to add the new interface to my WAN list:
/interface list member add interface=ether1 list=WANIf you don't have masquerading configured yet, you'll also need to add this rule:
/ip firewall nat add action=masquerade chain=srcnat out-interface-list=WANWith these configurations in place, I was done - all my clients (both those connected via ethernet to the Mikrotik and those on WiFi through the Unifi AP) could access the Internet through Starlink, maintaining those impressive speeds!
Our Wins: Less is More
The setup might not be for everyone - it might even seem strange to get rid of the capable WiFi router that comes with Starlink. However, in my off-grid context, this approach brings several significant advantages:
Direct battery power: Since Starlink now runs directly from my 48V battery system, I maintain network connectivity even when the AC inverter (I'm using Victron Multiplus-II) is off.
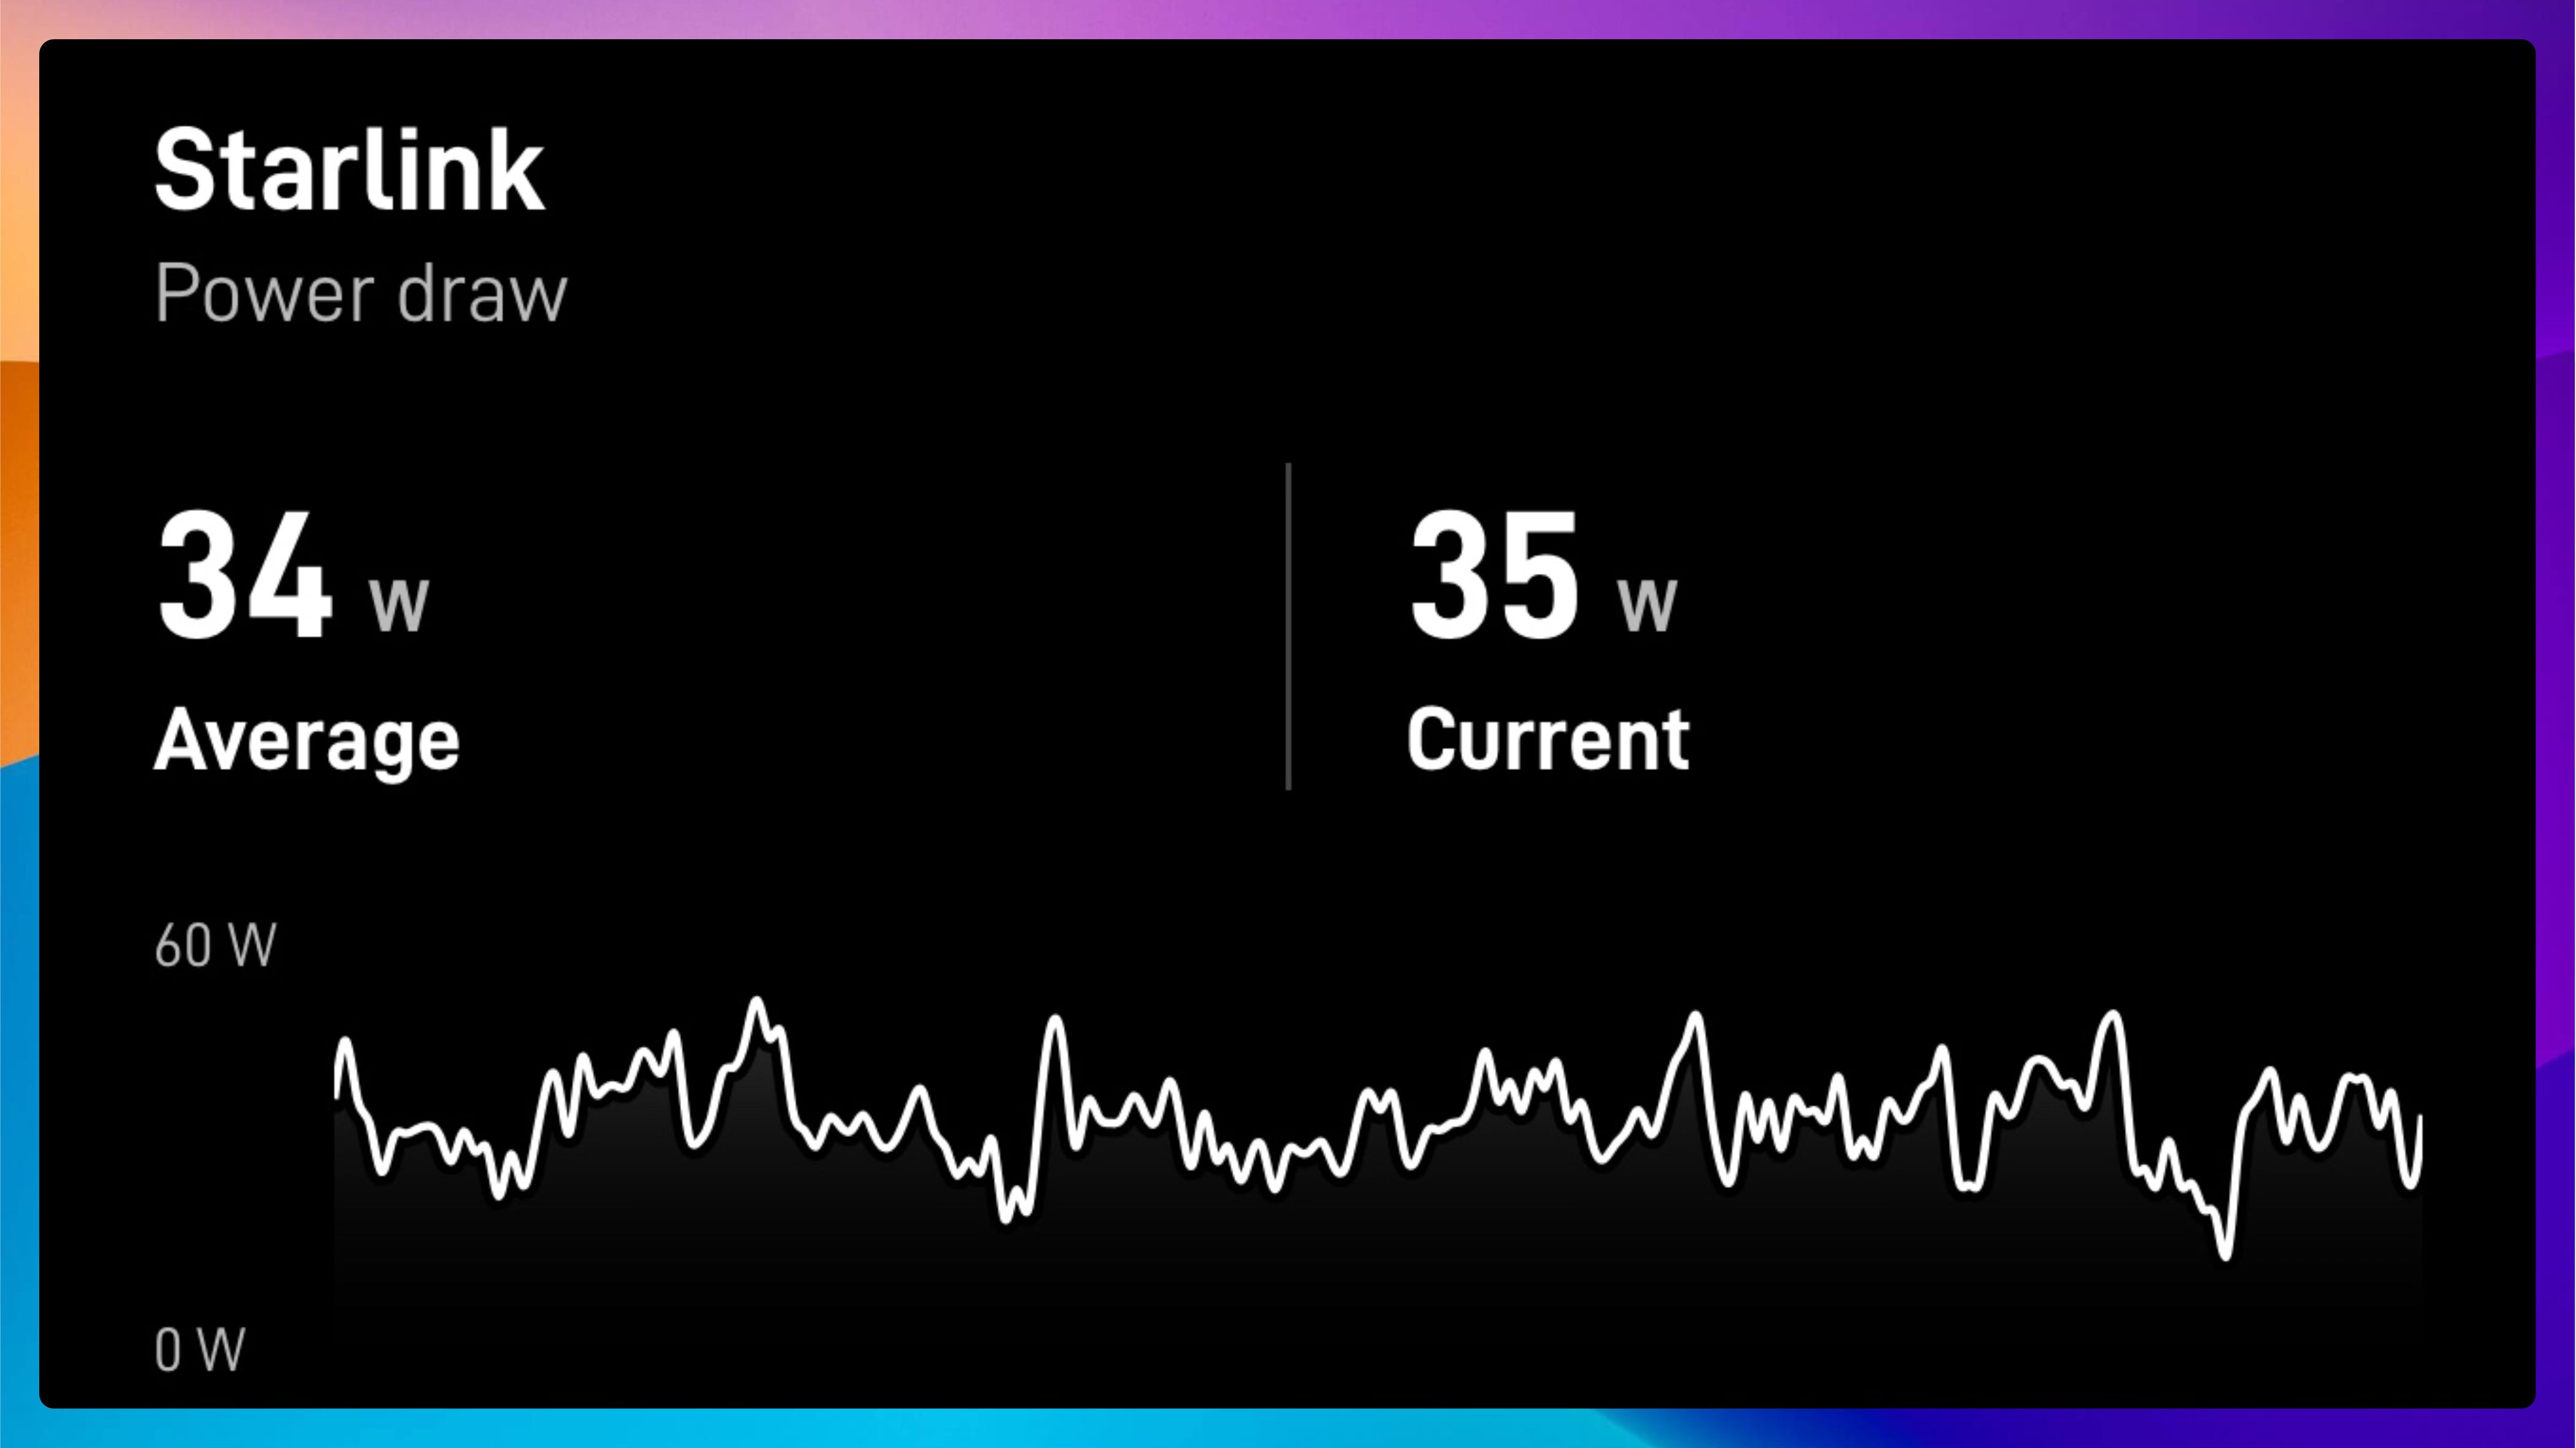
Lower power consumption: In an off-grid setup, especially during winter months, every watt counts. Eliminating an extra router makes a meaningful difference. According to the Starlink app, the current setup averages around ~35W - quite efficient for a high-speed satellite connection.
Simplified infrastructure: Running everything through the Mikrotik eliminates an extra layer in the network topology, reducing complexity and potential points of failure.
The Trade-offs: Features We Leave Behind
Initially, I was concerned about losing access to the Starlink App without the official router. However, I was pleasantly surprised to find it working well - the app even seems designed to handle this setup, showing a direct connection to the dish in its connection diagram.
There are some minor limitations in the App when using this configuration:
Dish alignment feedback has a slight delay, with the app displaying: "Starlink is connected remotely. Updates to alignment may take a few seconds to appear".
Advanced Speed Test functionality is no longer available - specifically the feature that shows separate speed measurements between Starlink-to-Router and Router-to-Client.
For my use case, these limitations are negligible compared to the benefits of the simplified setup.
In the context of an off-grid setup, every component needs to justify its place in the system - whether it's about power consumption, complexity, or maintenance. By connecting the Starlink dish directly to my Mikrotik router, I've managed to create a more efficient and streamlined setup that perfectly suits my needs. While this approach might not be for everyone, it's a great example of how standard Starlink equipment can be adapted for more specific use cases.
For my off-grid cabin, this setup hits the sweet spot between functionality and efficiency - and sometimes, less really is more.
Nice post, thank you very much!
I followed it completely and it worked for my entire installation.
But how it’s working for you know? I have 6% of packet los while pinging to 8.8.8.8 and it is very anoying, every 30s or 2 minuts, little cuts, VoIP not working…..